Drum Throne
The drum seat should be set up at a height where from your hip joint to your knee is ever so slightly greater than 90 degrees. If you are too low it will for your knee higher than your hip which can cause lower back strain, too high and you will most likely hunch over the drum kit. Sit up tall facing straight forward, pretend there is a sting in the top of your head pulling your neck and head up.
Snare Drum
Your snare drum is the drum you will be using the most with your hands so you want it to be super easy to smack. It should be placed directly in front of you, in line with your nose, centered on your body. With your arms comfortably at your sides raise your sticks in front of you at about the height of your belly button. Keep your shoulders relaxed and your upper arm parallel to the side of your body. See where the tips of your stick are? This is where you should put the CENTER of your snare drum. Adjust the height up or down so that you don’t need to move to play it. This should be a very relaxed “neutral” position. You may find it helpful to angle the snare slightly toward you, especially for smaller players.
Bass Drum
While sitting comfortably on your drum throne your legs will naturally come into a V shape with one leg on each side of the snare drum. This position is natural and comfortable so let's take advantage of it! Your bass drum pedal should be placed directly under your right foot (left foot for left dominant drummers) don’t move your foot, move the bass drum! There should be an angle from your knee to your ankle just beyond 90 degrees to allow for the relaxed and effortless playing of the pedal.
Hi-Hat
Follow a similar process with your left foot and the hi-hat pedal. The hi-hat cymbals should be about 8 - 10 inches above the height of the snare drum. When you move your sticks from the hi-hat to snare you shouldn’t have to do too much movement in your elbow or shoulder to get from one to the other. We are aiming for natural and relaxed body mechanics here. Usually, right-handed players cross their right hand over top the left to hit the hi-hat, avoid the “chicken wing” here by keeping your right elbow relaxed and low.
Toms
Now, toms can be a little bit tricky depending on your size, the size of your drums, and the adjustment capabilities of your kit. As a general rule of thumb, the larger the rack toms (the ones on the bass drum) the more they should be raised and angled toward the drummer. Try to place your rack toms in a position where they are all along the same horizontal plane. This way when you are ripping sick drum fills it's super easy to get from one drum to the other!! The floor tom is placed to your right side and should be about the same height as your snare. The goal should be to place the drums in a spot where you can hit them dead center without having to change the position of your shoulders or elbows too much. Again, make it smooth and easy to hit everything.
Ride Cymbal
If your drum kit only comes with a hi-hat and one other cymbal we are going to call this the ride cymbal. (We call it the ride because we play a lot of notes on it so it’s like our stick is taking a ride!) I recommend putting it on the right side of your kit, to the right of the middle tom and above the floor tom. If you only have one rack tom you can experiment with moving it more over top of the bass drum. I like to angle my ride cymbal toward me a bit so I can easily access the bell, bow, and edge of the cymbal. Another important tidbit: the higher the cymbal the more you should angle it toward you. Experiment with how the ride feels good to you.
Crash Cymbal
If your drum kit includes another cymbal besides the hi-hat and ride this is most likely a crash cymbal. They have a more explosive sound and are generally used for accents. The crash can be placed on the left side of your kit between your hi-hat and high rack tom. I'd recommend about 8 - 12 inches higher than the hi-hat cymbal. A slight angle toward you is good because then you can access all the parts of the cymbal. If you have multiple crash cymbals you can experiment with having one on each side of your kit.
Final Thoughts
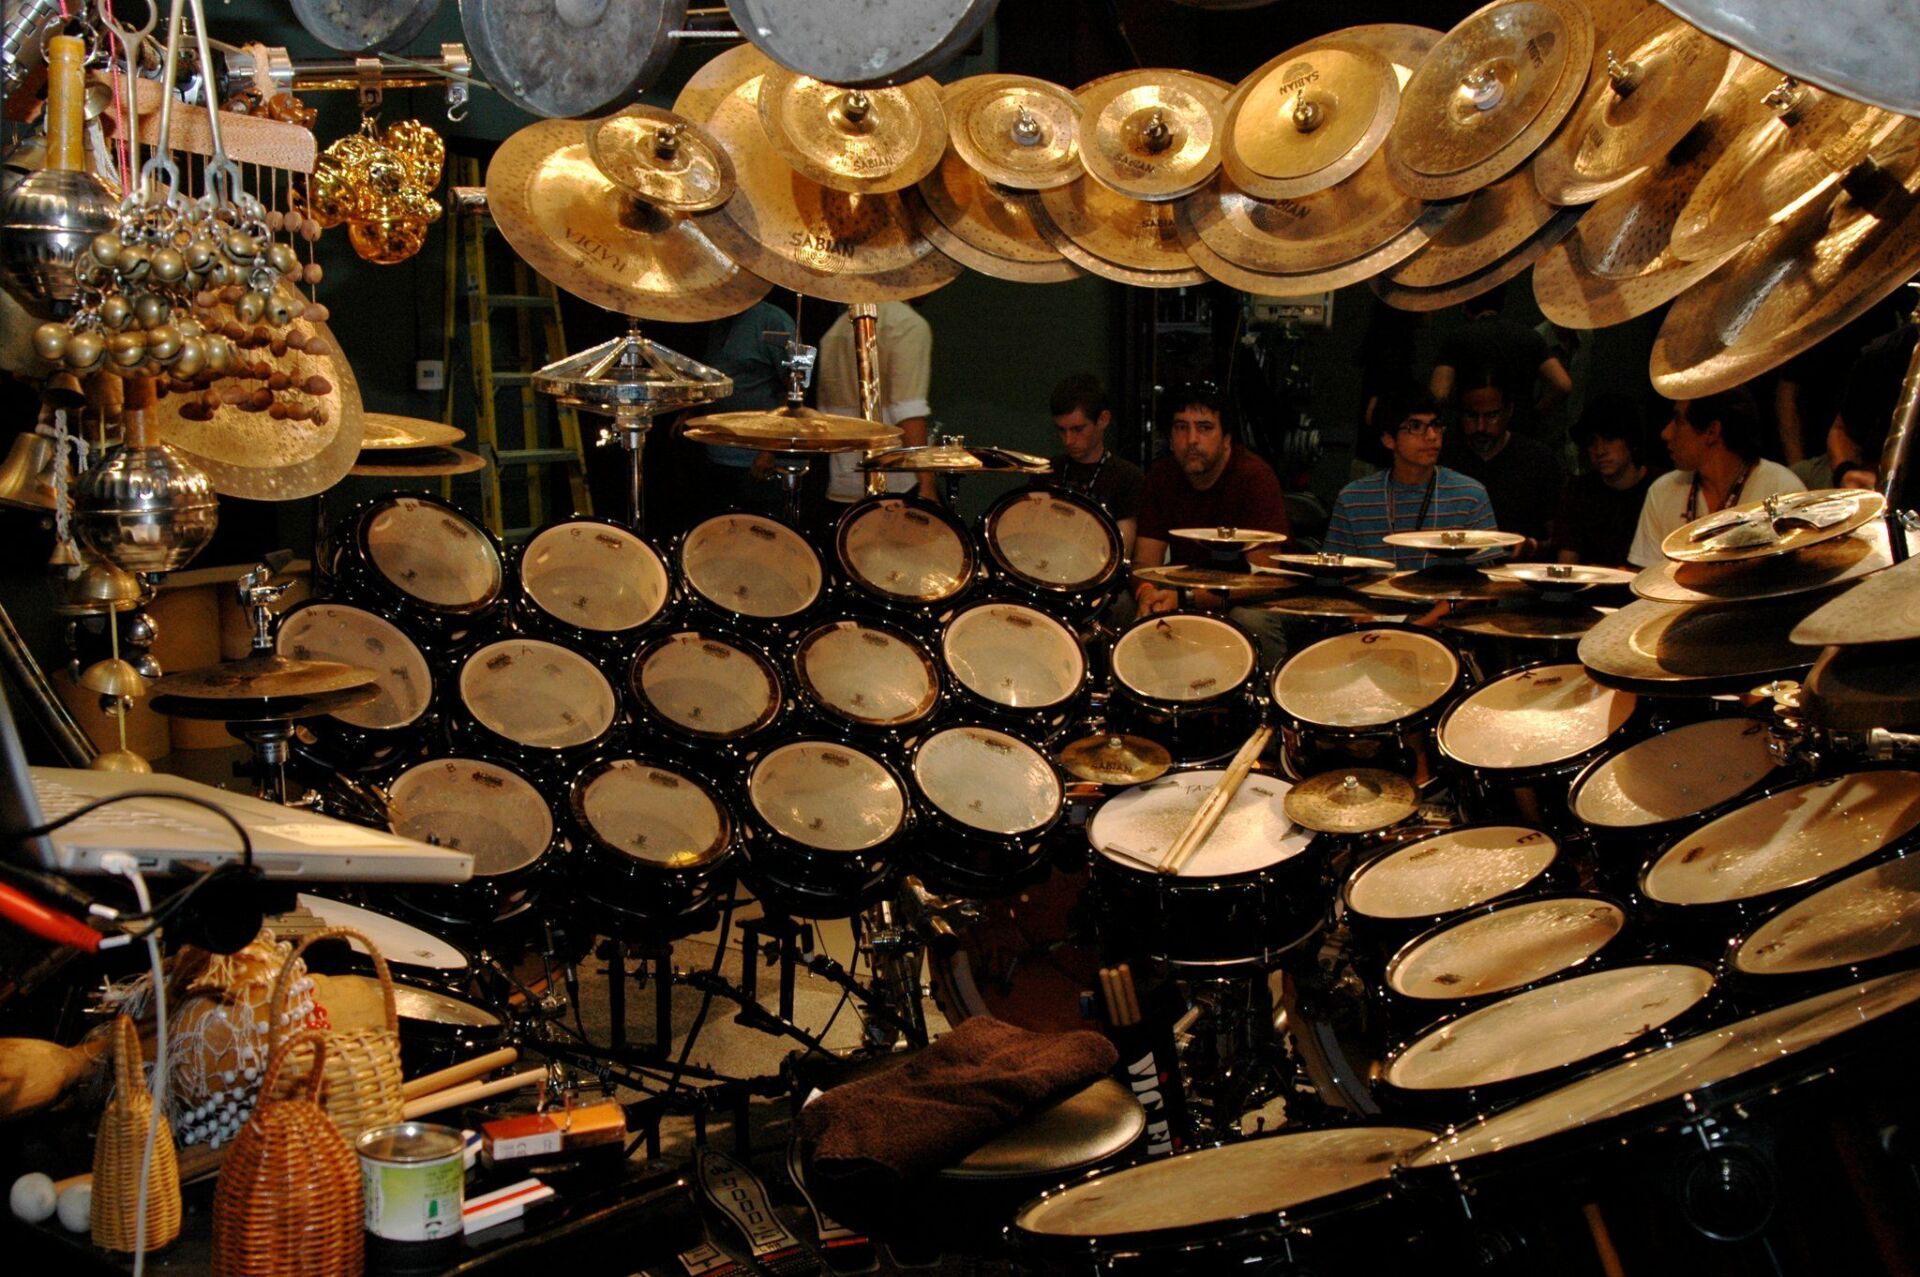
My goal is always to set up my drums so it's easy to access every part of the kit which makes it more fun to play. I want to focus on playing music and being comfortable, not on hoping that I can reach stuff. The drum set is highly customizable and you should spend time trying out different ways of setting up your kit. The way they come out of the box is not how they have to stay. Check out some videos online of your favorite bands and drummers and see what they have going on in their kits.
And lastly, just remember...
Adjust the drums to your body, not your body to the drums.
Until next time,
Matt Price
Drum Instructor, Sunburst School of Music


